Un-Fried Fried Ice Cream: A Quick and Easy Recipe
Have you ever craved the crispy crunch and creamy sweetness of fried ice cream but were put off by the hassle of deep frying? Or maybe you’ve avoided it because of the mess and extra calories? Well, get ready to fall in love with a dessert that offers all the deliciousness of fried ice cream—without the frying part! Un-fried fried ice cream is the perfect solution for those times when you want a mouthwatering treat but without the fuss.
This dessert combines the nostalgic flavors of crispy, crunchy coating and silky ice cream, making it a fun and easy way to indulge your sweet tooth. And the best part? You can make it at home in just a few simple steps, no frying oil required.
Let’s dive into how you can make this quick and easy dessert and why it’s going to be your new favorite recipe.
Table of Contents
What is Un-Fried Fried Ice Cream?
A Delicious Deconstructed Dessert
You’ve probably seen fried ice cream at your favorite Mexican or Asian restaurants—crispy golden coating with a rich and creamy ice cream center. Traditionally, fried ice cream is made by scooping ice cream, freezing it, and then dipping it in a batter or breadcrumbs before deep frying it. While the result is delicious, it comes with a few downsides: the mess, the extra calories, and, of course, the time spent frying.
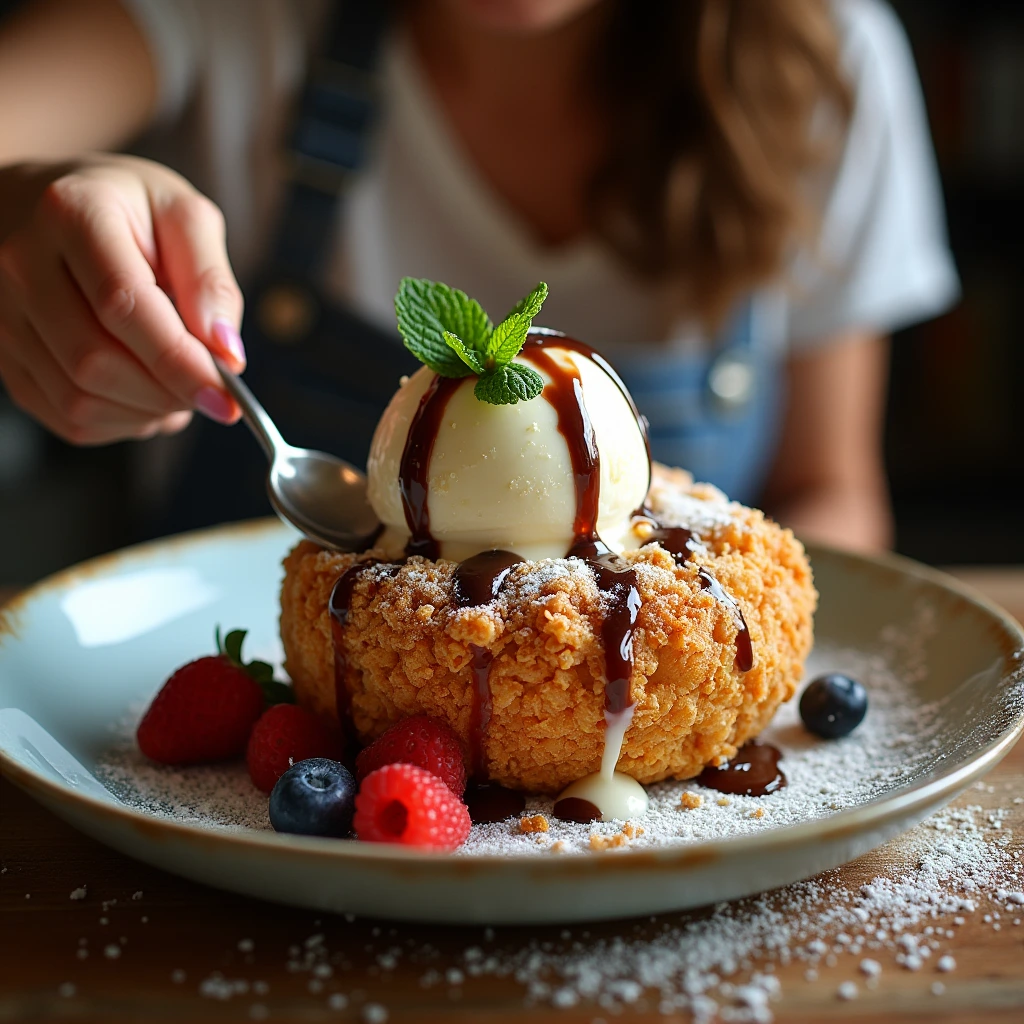
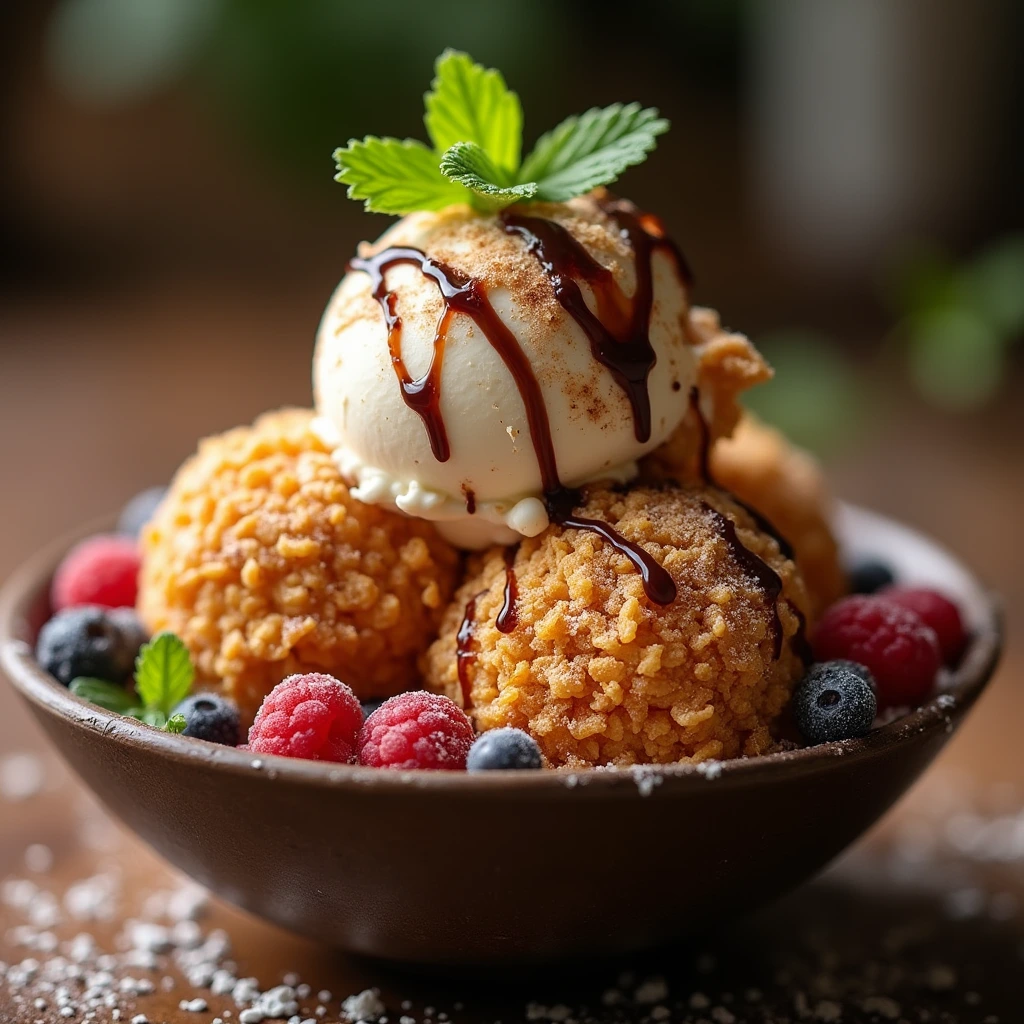
This is where un-fried fried ice cream comes in. It offers all the crispy crunch and ice cream goodness, but it skips the frying step altogether. Instead, this version uses simple ingredients like crushed cereal, cinnamon, and brown sugar to create the “crust,” which is then frozen onto the ice cream balls, giving you that same satisfying texture—without the deep frying.
Not only is this method quicker and easier, but it’s also a great way to enjoy the flavor without worrying about frying oil or added calories.
The History Behind Fried Ice Cream
Fried ice cream may sound like a modern innovation, but it actually has deep cultural roots. Its origins are debated, with different regions claiming credit. Some believe it originated in Asia, while others argue that it was created in the U.S. in the 1960s.
In its traditional form, fried ice cream was created by quickly deep-frying ice cream scoops to seal in the cold center while giving the outside a warm, crispy coating. In Japan, this dessert is often known as “tempura ice cream,” where the ice cream ball is dipped in tempura batter and deep fried for a crispy outer layer.
Over time, different variations of fried ice cream have evolved to suit local tastes, but one thing remains consistent: the combination of crispy and creamy that makes this dessert so irresistible.
Un-Fried Fried Ice Cream: A Quick and Easy Recipe
Now that you know what un-fried fried ice cream is, it’s time to make it yourself! Don’t worry—this recipe is so simple that you won’t believe how easy it is to create a dessert that feels like a showstopper.
Ingredients You’ll Need
To make un-fried fried ice cream at home, you’ll need a few basic ingredients that you likely already have in your kitchen. Here’s a quick rundown of the ingredients:
| Ingredient | Quantity | Notes |
|---|---|---|
| Vanilla ice cream | 1 pint | Full-fat or premium ice cream works best |
| Cornflakes or cereal | 2 cups | Can also use crushed graham crackers for variation |
| Ground cinnamon | 1 teaspoon | Adds warmth and depth of flavor |
| Brown sugar | 2 tablespoons | Sweetens the crust and adds caramel flavor |
| Butter or margarine | 1 tablespoon | Helps bind the cereal and other ingredients together |
| Honey or chocolate syrup | As desired | For drizzling on top for extra sweetness |
Step-by-Step Instructions
Now, let’s break down the steps to creating your un-fried fried ice cream. This recipe is perfect for beginners and experienced home cooks alike.
Step 1: Scoop the Ice Cream and Form Balls
Start by scooping out the ice cream into generous-sized balls. You can use an ice cream scooper or your hands, but the key is to make them compact enough to hold their shape when frozen.
Tip: Let the ice cream sit out for a few minutes to soften slightly before scooping, as this will make the process easier.
Step 2: Freeze the Ice Cream Balls
Once you’ve scooped the ice cream into balls, place them on a baking sheet lined with parchment paper. Pop them in the freezer for at least 2 hours, or until the ice cream is firm and fully frozen. This is crucial because the balls need to be solid to keep their shape when coated with the crust mixture.
Step 3: Prepare the Crust Mixture
While your ice cream balls are freezing, it’s time to prepare the crunchy coating. In a bowl, melt the butter or margarine, and mix it with the crushed cornflakes or cereal. Add the ground cinnamon and brown sugar to the mixture and stir well. You want the texture to be like wet crumbs, so adjust the amount of butter if needed to achieve that consistency.
Step 4: Roll the Ice Cream Balls in the Crust Mixture
Once your ice cream balls are fully frozen, take them out of the freezer and roll them in the crust mixture, pressing gently to ensure that the crumbs stick to every surface. This is where the magic happens—the crust will form around the ice cream, giving you that crispy texture without any frying!
Step 5: Freeze Again to Set the Coating
After the ice cream balls are coated, return them to the freezer for another 30 minutes to set the crust. This will ensure the coating stays intact when you serve the dessert.
Step 6: Serve and Enjoy
Once the ice cream balls are properly frozen and the crust is set, you can serve your un-fried fried ice cream. Drizzle with honey, chocolate syrup, or any topping of your choice for that extra burst of flavor.
Why You’ll Love This Recipe


Quick and Simple
One of the biggest reasons why this recipe is a winner is how quick and simple it is. No frying means no mess, and the entire process takes only a few steps, most of which involve freezing the ice cream. It’s a perfect last-minute dessert that doesn’t require much prep time but still impresses.
Healthier Than Traditional Fried Ice Cream
While traditional fried ice cream can be loaded with calories and fat from the frying oil, this un-fried version is much lighter. By skipping the deep-frying process, you’re cutting down on the oil and calories, making it a healthier alternative without sacrificing flavor.
Perfect for All Occasions
Whether it’s a family dinner, a celebration, or just a casual weeknight craving, this recipe is versatile enough to serve on any occasion. It’s easy to make ahead of time, and you can even customize the toppings and crust to suit your preferences.
Frequently Asked Questions (FAQ)
Can I use different ice cream flavors for this recipe?
Absolutely! The beauty of un-fried fried ice cream is that you can choose any ice cream flavor you love. Whether it’s classic vanilla, chocolate, or even fruity flavors like strawberry or mango, this recipe works with all of them. The key is to use a rich, full-fat ice cream to get that creamy texture.
Is this recipe suitable for people with dietary restrictions?
Yes, this recipe is easily customizable to fit dietary restrictions. If you’re dairy-free, simply use a dairy-free ice cream variety. For gluten-free, choose a gluten-free cereal or graham cracker alternative, and you’re all set!
How can I make this recipe even more decadent?
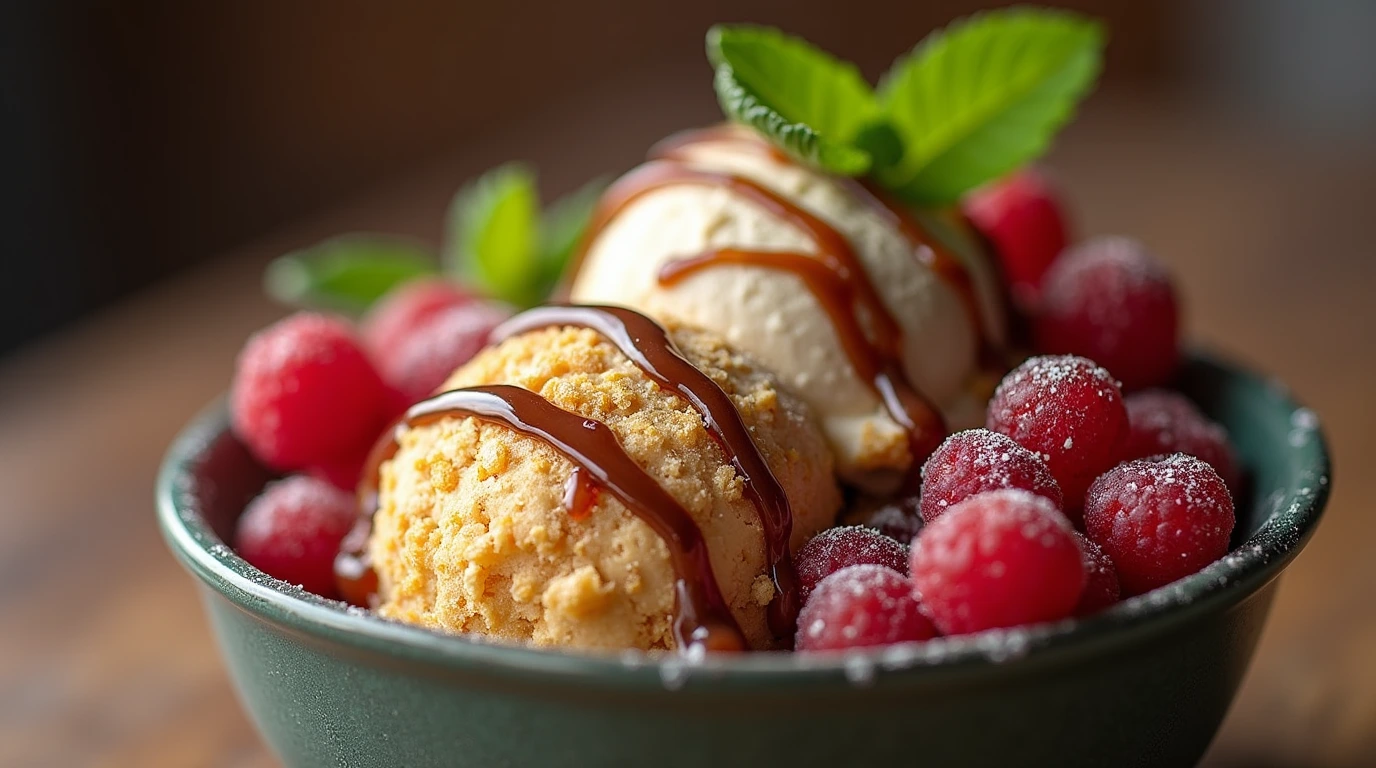
If you want to take it up a notch, try drizzling caramel, chocolate syrup, or adding a dollop of whipped cream on top. You can also sprinkle some chopped nuts or shredded coconut over the crust for added texture and flavor.
Can I make the ice cream balls in advance?
Yes! In fact, making the ice cream balls ahead of time is recommended. You can freeze them up to a week before serving, making it a convenient make-ahead dessert option.
Conclusion: The Un-Fried Fried Ice Cream Revolution
Why settle for ordinary when you can make something extraordinary? Un-fried fried ice cream gives you the same rich, indulgent flavors as the deep-fried version, but with none of the mess or hassle. With just a few ingredients and some time in the freezer, you can have a dessert that’s sure to impress your family and friends.
So, the next time you’re in the mood for something sweet, give this easy recipe a try. It’s a fun, versatile, and healthier alternative to traditional fried ice cream, and it’s bound to become your new go-to treat. What are you waiting for? Grab your ice cream and start making this amazing dessert today!
Did You Try Our Recipe?
There are no reviews yet. Be the first one to write one.

